Protecting your roof from water damage is essential, especially when you don’t have gutters. At Haileys Pro Services, we often see the consequences of neglecting this crucial component.
Installing a drip edge on a roof without gutters is a smart way to prevent water-related issues. This simple addition can save you from costly repairs down the line.
What Is a Drip Edge and Why Do You Need One?
The Essential Role of Drip Edges
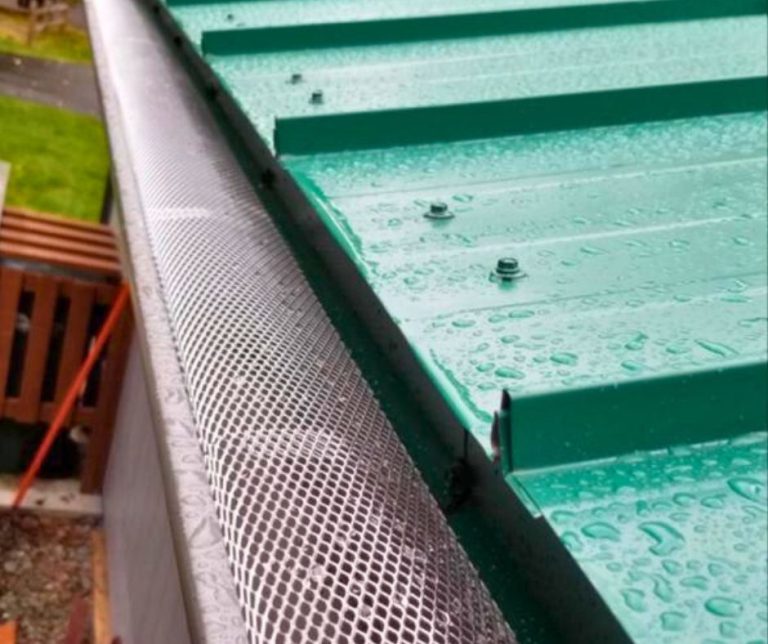
A drip edge is a metal flashing installed at the edges of your roof. It guides water away from the fascia and into the ground, which prevents moisture damage to your home’s structure. This simple addition can make a big difference in protecting your property.
Effective Water Management
Without a drip edge, rainwater can seep under your shingles and cause rot in your roof decking and fascia. A drip edge significantly reduces the likelihood of costly repairs by directing water away from these vulnerable areas.
Critical Protection for Gutter-less Roofs
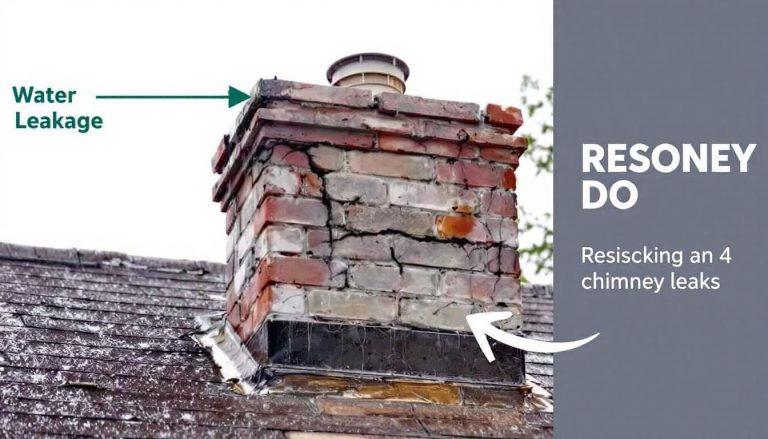
For homes without gutters, a drip edge becomes even more important. It serves as the primary defense against water damage. The International Building Code requires drip edges to be mechanically fastened to the roof deck at not more than 12 inches (305 mm) o.c. with fasteners as specified in Section R905.2.5. Without gutters to channel water away, the drip edge ensures that water doesn’t pool near your home’s foundation, which can lead to basement flooding and foundation issues.
Long-Term Advantages of Drip Edge Installation
Installing a drip edge is a small investment that yields significant returns. Proper drip edge installation can extend the life of your roof by preventing wind-driven rain from getting under your shingles. This not only protects your home but can also save you money on future repairs.
Cost-Effective Roof Protection
Drip edges provide excellent value for all roofs, especially those without gutters. The cost of installation is minimal compared to the potential damage it prevents. Typically, materials for drip edge installation range from $0.50 to $1.50 per linear foot, making it an affordable addition to your roof’s protection system.

As we move forward, let’s explore the step-by-step process of installing a drip edge, ensuring you can maximize its benefits for your home.
How to Install a Drip Edge on Your Roof
Gather Your Materials and Tools
Before you start, collect all necessary items. You’ll need drip edge material (typically aluminum or galvanized steel), roofing nails, a hammer, tin snips, a tape measure, and a ladder. Safety gear is essential – use gloves, safety glasses, and non-slip shoes.
Prepare Your Roof Edge
Clean the roof edge thoroughly. Remove debris, old nails, or damaged shingles. Fix any rot or damage before you install the drip edge. A clean, solid surface ensures proper installation.
Measure and Cut Your Drip Edge
Measure the length of your roof edge accurately. It’s better to cut slightly long than too short. When cutting the drip edge, allow about an inch of overlap at corners for a watertight seal. Use tin snips for precise cuts (and don’t forget those gloves to protect your hands).
Install with Precision
Start at a corner and work along the roof edge. Place the drip edge tight against the roof deck and fascia. Nail it in place every 12 inches (305 mm). This spacing keeps the drip edge secure in high winds.

At corners, create a small notch in the vertical flange of the drip edge. This allows you to bend it neatly around the corner without buckling. Overlap pieces by at least 2 inches to prevent water infiltration.
Seal and Finish
After you place the drip edge, apply a bead of roofing sealant along the top edge where it meets the roof. This extra step provides additional protection against water infiltration. Proper installation helps protect the roofing system by creating a barrier that channels water flow away from critical areas. Finally, inspect your work. Ensure all nails are flush and there are no gaps or loose sections.
While this guide covers the basics, drip edge installation can be challenging, especially on complex roof designs. If you’re unsure about any step, consult with professionals. Many homeowners find that expert installation (like the services offered by Hailey’s Pro Services) provides peace of mind and ensures the job is done right.
Now that you understand the installation process, let’s explore common mistakes to avoid when installing a drip edge. These tips will help you achieve a professional-quality result and maximize the protection for your roof.
Avoiding Common Drip Edge Installation Pitfalls
Installing a drip edge requires attention to detail. Even experienced DIYers can make mistakes. Let’s explore some common errors and how to avoid them.
Incorrect Placement
One of the most frequent mistakes is incorrect drip edge positioning. A roof drip edge directs water into the gutters. The drip edge should extend at least 1/4 inch beyond the roof deck to ensure water drips off properly. If it’s too short, water can seep behind the fascia. If it’s too long, it may not provide adequate support for shingles.

To get it right, measure carefully and use a chalk line to mark the correct position before installation. This extra step can prevent costly water damage repairs.
Fastener Failures
Using the wrong fasteners or incorrect fastening techniques can lead to drip edge failure. Use roofing nails, not staples or screws. The nails should be corrosion-resistant and long enough to penetrate the roof deck by at least 3/4 inch.
Space the nails about 12 inches apart to ensure the drip edge stays secure (even in high winds). Overdriving nails can damage the drip edge, while underdriving leaves them loose and ineffective.
Overlooking Proper Overlap
Neglecting to overlap drip edge sections properly is a common oversight. Each section should overlap the next by at least 2 inches to create a continuous water barrier. At corners, create a small notch in the vertical flange to allow for a neat bend without buckling.
Apply a bead of roofing sealant between overlapped sections for extra protection against water infiltration. This small detail can make a big difference in preventing leaks.
Ignoring Expansion and Contraction
Metal expands and contracts with temperature changes. Failure to account for this can lead to warping or gaps in your drip edge. Leave a small gap (about 1/8 inch) between sections to allow for movement. Fill this gap with a flexible roofing sealant to maintain water resistance while allowing for thermal expansion.
In regions with extreme temperature fluctuations, try using a drip edge material with a lower coefficient of thermal expansion, such as vinyl or certain types of metal alloys.
Skipping Professional Consultation
While many homeowners attempt DIY drip edge installation, complex roof designs or uncertainty about the process can lead to mistakes. Professional consultation can provide valuable insights and ensure proper installation. If you’re unsure about any aspect of drip edge installation, it’s best to consult with experts. Haileys Pro Services offers expert advice and installation services to keep your home safe and dry.
Final Thoughts
A drip edge on a roof without gutters protects your home from water damage. This addition prevents costly repairs and extends your roof’s lifespan. Proper installation involves gathering materials, preparing the roof edge, measuring accurately, and sealing for extra protection.

Professional installation ensures the job is done right the first time. Small mistakes can lead to significant issues, which is why many homeowners choose expert help. Precise installation provides long-lasting protection for your home.
At Haileys Pro Services, we understand the importance of a drip edge for roofs without gutters. Our technicians (experienced in drip edge installations) can provide you with advice, installation, or other home maintenance services. We strive to keep your home safe and dry.