Flashing roof installation is a critical aspect of protecting your home from water damage. At Haileys Pro Services, we’ve seen firsthand how proper flashing can make or break a roof’s performance.
In this post, we’ll walk you through the essential steps for installing flashing correctly and highlight common mistakes to avoid. By the end, you’ll understand why professional installation is often the best choice for long-lasting roof protection.
What Is Roof Flashing?
Definition and Purpose
Roof flashing is a thin, corrosion-resistant sheet metal designed to fit into joints to help direct water away from vulnerable areas. It acts as a barrier, directing water away from critical junctions on your roof. Flashing is installed in areas prone to leaks, such as around chimneys, skylights, and where roof planes meet walls. Without flashing, these areas would become prime spots for water infiltration, leading to rot, mold, and structural damage.
Types of Flashing Materials
The most common flashing materials include:
- Aluminum: This lightweight and corrosion-resistant option is popular among homeowners. However, it’s not as durable as other materials.
- Copper: Extremely durable, copper develops a protective patina over time. It’s often used in high-end homes but comes with a higher price tag.
- Galvanized steel: This material offers a good balance of durability and cost-effectiveness. It’s a common choice for most flashing jobs.
Critical Areas for Flashing Installation
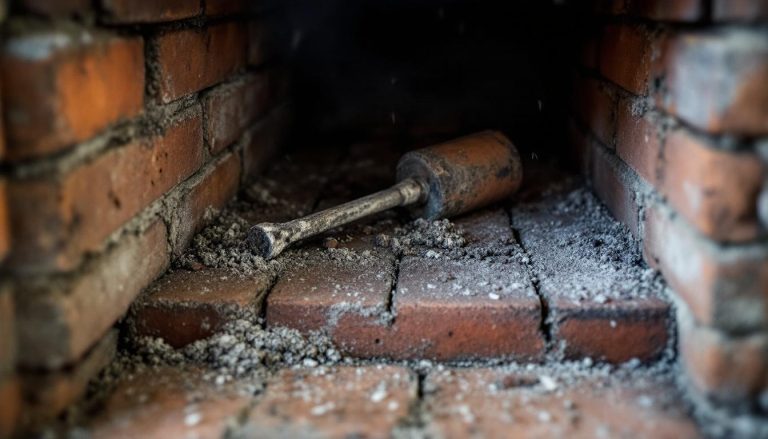
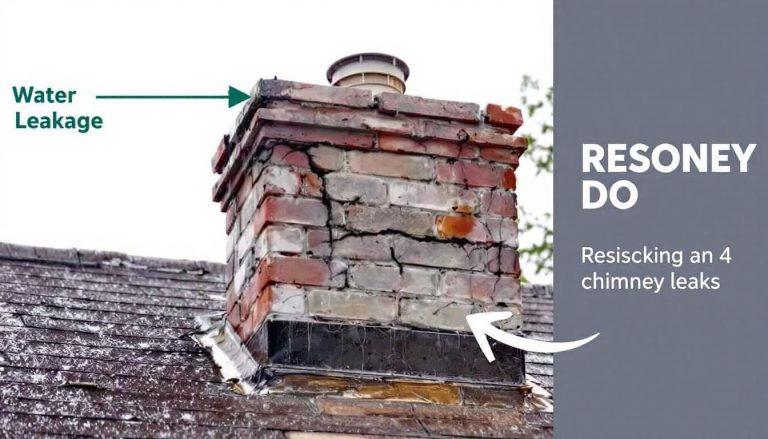
Chimneys
Chimneys pose major leak risks without proper flashing. Sealing chimney flashing involves several steps, including inspection, cleaning, applying roofing cement, securing with sheet metal, and regular maintenance.
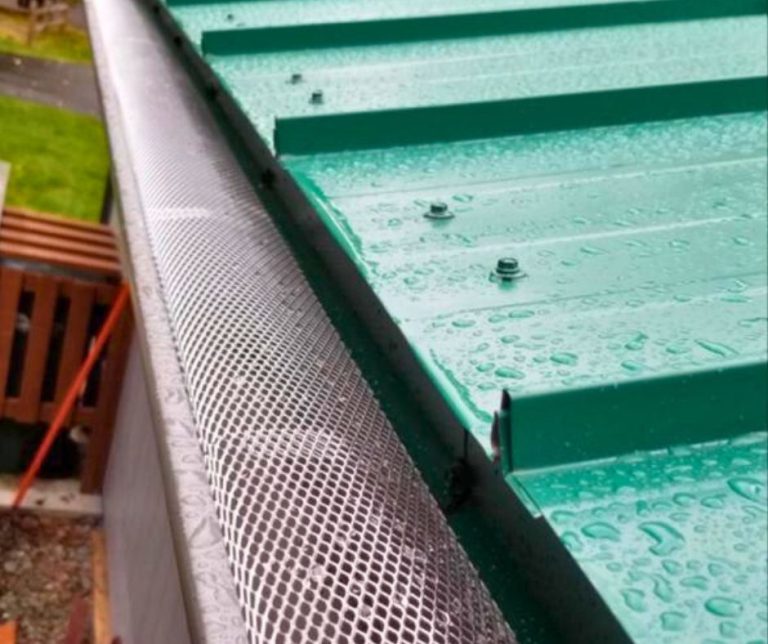
Roof Valleys
Where two roof planes meet, sturdy flashing handles high water volume. W-shaped valley flashing ensures water flows smoothly off the roof.
Skylights
Skylights need careful flashing installation to prevent leaks. A combination of step flashing and counter flashing creates a watertight seal.
Roof-to-Wall Intersections
These often-overlooked areas are critical for flashing. Step flashing is installed here to prevent water from seeping behind the siding.
Vent Pipes and Roof Penetrations
These areas require specialized flashing, often with rubber boots to create a tight seal around the protrusion.
Understanding these key aspects of roof flashing is essential for maintaining a watertight roof. Proper installation in these areas (especially around chimneys and skylights) can significantly extend the life of your roof and protect your home from costly water damage. In the next section, we’ll explore the steps for proper flashing installation to ensure your roof remains leak-free for years to come.

How to Install Roof Flashing Correctly
At Haileys Pro Services, we know that proper flashing installation is key to a leak-free roof. Here’s our step-by-step guide to getting it right.
Prepare the Roof Surface
Start by cleaning the area where you’ll install the flashing. Remove debris, old sealant, or damaged shingles. Inspect the underlying wood for rot or damage. Address any issues before proceeding. A clean, solid surface ensures proper adhesion and water resistance.
Measure and Cut with Precision
Accurate measurements are essential. We always measure twice and cut once to avoid waste and ensure a perfect fit. For complex areas like chimneys, create a template using cardboard before cutting your flashing material. This extra step saves time and materials in the long run.

When cutting, use tin snips for straight cuts and aviation snips for curves. Always wear gloves to protect your hands from sharp edges. A snug fit is essential for effective water diversion.
Secure and Seal
Apply a generous bead of roofing sealant along the edge where the flashing will sit. Press the flashing firmly into place, ensuring good contact with the sealant. Secure the flashing with roofing nails, placing them every 4 inches along the top edge.
For step flashing, start at the bottom and work your way up, overlapping each piece by at least 2 inches. This creates a continuous water barrier. When installing counter flashing on chimneys, ensure it overlaps the step flashing by at least 2 inches for optimal protection.
Waterproof Like a Pro
After securing the flashing, apply another layer of roofing sealant over the nail heads and along all edges. This extra step provides an additional barrier against water infiltration. For added protection in high-risk areas, consider using a self-adhering underlayment beneath the flashing.
In areas with severe weather (like parts of Texas), we often recommend using a modified bitumen roofing tape under the flashing for maximum water resistance. This extra layer can make a significant difference in preventing leaks during heavy rainstorms or snow melt.
Proper flashing installation is not just about following steps-it’s about understanding how water moves and anticipating potential weak points. That’s why many homeowners choose professional installation. Professional roofers bring years of experience to every job, ensuring your roof stays dry for years to come.
Now that we’ve covered the correct installation process, let’s explore some common mistakes to avoid when installing roof flashing. These pitfalls can compromise even the best materials and techniques if not addressed properly.
Flashing Failures: Common Installation Mistakes to Avoid
At Haileys Pro Services, we’ve encountered numerous flashing installation errors. These mistakes can result in expensive repairs and extensive water damage. Let’s explore the most frequent pitfalls and how to prevent them.
Measurement Errors
Inaccurate measurements often lead to disaster. We’ve seen many cases where flashing was cut too short, creating gaps that allow water to penetrate. Always measure twice before cutting. For complex areas like chimneys, create a cardboard template first. This extra step can prevent wasting expensive materials and compromising your roof’s integrity.
Inadequate Sealing
Insufficient sealant use is a false economy. We’ve fixed many leaks caused by poor sealing. Apply new sealant after inspecting and cleaning the area. Don’t forget to seal nail heads too. In areas prone to severe weather, consider using a modified bitumen tape under the flashing for added protection. (Use sealants compatible with your roofing materials to ensure long-lasting adhesion.)
Improper Overlapping
Correct overlapping is essential for effective water diversion. We’ve observed instances where flashing was installed without adequate overlap, creating a direct path for water to enter the roof structure. Always overlap step flashing by at least 2 inches. For valley flashing, a minimum 6-inch overlap on each side is necessary. (Water can defy gravity and travel uphill in strong winds, so generous overlaps are your best defense.)
Material Incompatibility
Using incompatible materials can lead to premature deterioration and failure. We once repaired a roof where aluminum flashing was used with copper shingles, causing galvanic corrosion. Always check compatibility between your flashing, fasteners, and roofing materials. Electrically insulate dissimilar metals to prevent corrosion.
Neglecting Proper Fastening
Improper fastening of flashing can lead to leaks and damage. We’ve seen cases where flashing was secured with too few nails or the wrong type of fasteners. Use corrosion-resistant roofing nails and place them every 4 inches along the top edge of the flashing. Ensure the nails penetrate the roof deck by at least 3/4 inch for a secure hold.

Final Thoughts
Proper flashing roof installation protects your home from water damage and extends the life of your roof. Professional installation offers significant advantages due to the complexities involved and potential pitfalls of DIY attempts. Experienced roofers bring valuable knowledge about local weather, building codes, and the latest materials and techniques.

Professional flashing installation provides substantial long-term benefits. It can significantly extend the lifespan of your entire roofing system, saving money on premature replacements and repairs. A properly flashed roof also protects your home’s structure and interior from water damage, mold growth, and other moisture-related issues.
At Haileys Pro Services, we understand the importance of quality flashing installation. Our team of expert technicians handles all aspects of roof maintenance and repair (including flashing installation). We use top-quality materials and proven techniques to ensure your roof remains watertight and durable for years to come.