Leaking gutters may seem like a minor problem, but over time, they can lead to significant damage to your home. From foundation issues to roof leaks, improper water drainage caused by faulty gutters can wreak havoc on your property. Fortunately, with some basic tools and a bit of elbow grease, you can fix most gutter leaks on your own.
Whether it’s a small hole, a broken seal, or a sagging gutter, taking care of gutter leaks early on is essential for preventing larger, more expensive repairs down the road. Let’s walk through how to fix leaking gutters step by step, ensuring your home stays protected from water damage.
How to Fix Leaking Gutters: A Step-by-Step Guide
Fixing leaking gutters doesn’t have to be a difficult or time-consuming task. With a clear understanding of the problem and the right tools, most homeowners can repair small leaks in a few simple steps. In this guide, we’ll cover the process from identifying the cause of the leak to repairing it.
Identifying Common Causes of Gutter Leaks
Before diving into repairs, it’s crucial to understand the root cause of the leak. Gutters can leak for several reasons, and identifying the source will help you apply the correct solution.
Common Causes of Gutter Leaks:
- Clogged Gutters: Leaves, dirt, and debris can clog gutters, causing water to back up and overflow.
- Joint Separation: Over time, the seams and joints in gutters can wear down or separate, leading to leaks.
- Cracks or Holes: Physical damage from falling branches, ice, or rust can cause cracks or holes in gutters.
- Sagging Gutters: Improper installation or the accumulation of debris can cause gutters to sag, resulting in water leaks.
- Damaged Gutter Brackets: Loose or damaged brackets can lead to misalignment and gaps between the gutter and roofline.
Identifying the exact cause of the leak will ensure you apply the right fix, whether it’s sealing a crack or cleaning out clogged gutters.
Tools and Materials You’ll Need for Gutter Repairs
Before you start the repair, make sure you have the proper tools and materials on hand. Here’s a list of items you’ll need to fix most gutter leaks:
Tools:
- Ladder (with stabilizer)
- Gloves
- Wire brush or scrub brush
- Gutter scoop or trowel
- Caulking gun
- Tape measure
- Tin snips (if replacing damaged sections)
Materials:
- Gutter sealant or caulk
- Gutter patch or repair kit
- Aluminum flashing (for large holes)
- Replacement gutter sections (if necessary)
- Screws or rivets
- Downspout extension (if water is pooling too close to the foundation)
Having these tools ready will make the repair process smoother and more efficient.
Step-by-Step DIY Gutter Leak Repair
Once you’ve identified the source of the leak and gathered your tools, it’s time to fix the problem. Follow these steps for a successful repair:
1. Clean the Gutters Thoroughly
Before you start repairing any leaks, make sure your gutters are clean. Use a gutter scoop or trowel to remove any leaves, twigs, or debris that may be clogging the system. Cleaning the gutters will also allow you to inspect for additional damage.
2. Inspect and Mark the Leaks
Once the gutters are clean, inspect them for leaks, holes, and cracks. Mark any problem areas with a piece of chalk so you can easily locate them when applying repairs.
3. Seal Leaks and Cracks
For small leaks or cracks, use a gutter sealant to seal the damaged areas. Apply the sealant generously over the crack, ensuring it fills in completely. Use a caulking gun to apply the sealant smoothly, and let it dry for at least 24 hours before checking the repair.
4. Patch Larger Holes
If you’ve found larger holes in your gutters, a sealant may not be enough. Instead, use a gutter repair patch or aluminum flashing. Cut the flashing to cover the hole, then use a strong adhesive to attach the patch. Seal the edges with gutter caulk to ensure no water can seep through.
5. Fix Separated Joints
If the seams or joints between gutter sections have separated, apply a bead of gutter sealant along the seams and press the sections back together. If necessary, reinforce the joint with screws or rivets for extra strength.
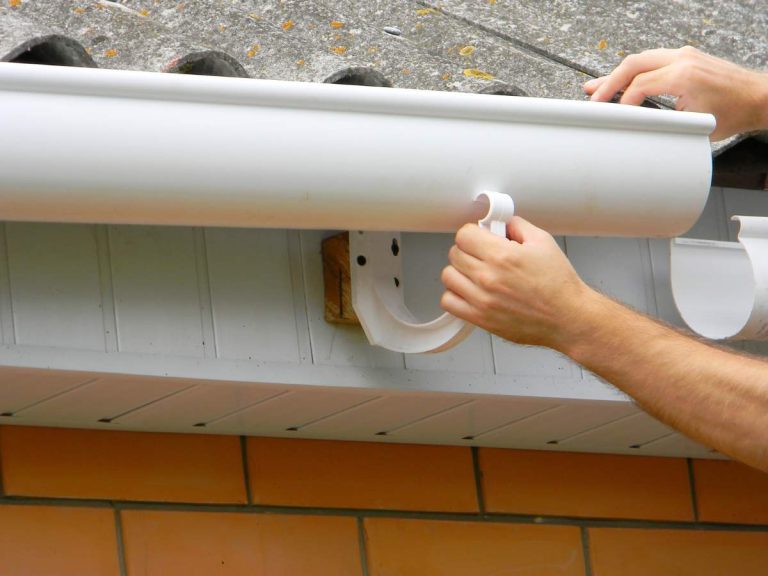
6. Reattach Loose Gutters
For sagging or loose gutters, check the brackets that attach the gutters to your home. Tighten any loose screws, or replace damaged brackets entirely. Make sure the gutter is aligned properly to allow water to flow smoothly toward the downspout.
When to Call a Professional for Gutter Repairs
While many gutter leaks can be fixed with DIY methods, some issues require the expertise of a professional. Here’s when you should consider calling in a pro:
- Extensive Damage: If your gutters are rusted, cracked in multiple places, or severely sagging, they may need to be replaced rather than repaired.
- Improper Installation: If you suspect your gutters were improperly installed, a professional can assess the situation and reinstall them correctly.
- Roof Damage: Sometimes, gutter leaks can be caused by underlying roof damage. In this case, it’s important to have a professional inspect and repair both the roof and gutters to prevent further issues.
Hiring a professional ensures the problem is addressed correctly and helps prevent costly repairs down the road.
Preventative Maintenance Tips to Avoid Gutter Leaks
Once your gutters are repaired, regular maintenance is key to preventing future leaks. Proper upkeep will extend the life of your gutters and keep your home protected from water damage.
Maintenance Tips:
- Clean Gutters Regularly: Aim to clean your gutters at least twice a year, in the spring and fall. This helps prevent clogs and ensures proper water flow.
- Inspect After Storms: After heavy rain or storms, inspect your gutters for signs of damage or sagging.
- Trim Overhanging Trees: Tree branches can drop leaves, twigs, and even cause physical damage to your gutters. Keep trees trimmed to avoid these issues.
- Install Gutter Guards: Gutter guards can help reduce the amount of debris that enters your gutters, making cleaning and maintenance easier.
How Weather Affects Your Gutters
Your gutters are constantly exposed to the elements, which can take a toll over time. Weather conditions like heavy rain, snow, ice, and extreme temperatures can all lead to gutter leaks.
Weather-Related Gutter Issues:
- Ice Dams: In colder climates, ice can build up in gutters, blocking water flow and causing leaks. Consider installing heating cables in your gutters to prevent ice dams.
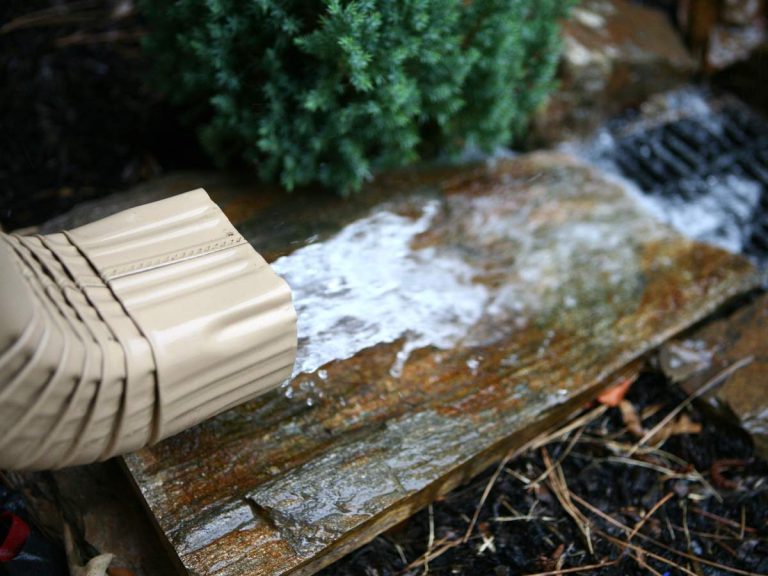
- Heavy Rainfall: If your gutters aren’t properly sized or maintained, heavy rain can cause them to overflow and leak.
- Sun Exposure: Constant exposure to UV rays can cause plastic gutter components to become brittle, leading to cracks and leaks.
Understanding how weather affects your gutters will help you take preventative measures to keep them in good condition.
Choosing the Best Gutter Sealant for Repairs
Not all sealants are created equal. When fixing gutter leaks, it’s important to choose a sealant that is durable, waterproof, and flexible.
Recommended Gutter Sealants:
- Silicone-Based Sealants: These are highly durable and flexible, making them ideal for sealing cracks in gutters.
- Polyurethane Sealants: Known for their strong adhesion and weather resistance, polyurethane sealants are great for exterior applications.
- Butyl Rubber Sealants: These sealants are perfect for areas that experience extreme temperatures, as they remain flexible and won’t crack under pressure.
Choosing the right sealant for your gutter material will ensure long-lasting repairs.
Common Mistakes to Avoid When Fixing Leaking Gutters
When repairing gutters, it’s easy to make mistakes that can lead to bigger issues down the road. Here are some common errors to avoid:
- Using the Wrong Tools: Make sure you have the correct tools for the job, including a stable ladder and proper sealants.
- Ignoring Small Leaks: Even small leaks can lead to significant water damage if left unchecked. Address leaks as soon as you spot them.
- Forgetting to Clean Gutters: Attempting to fix gutters without cleaning them first will result in poor repairs and potential re-leaks.
- Overlooking Gutter Slopes: Gutters need to slope slightly toward the downspout for water to flow properly. Incorrect slope adjustment can lead to pooling and future leaks.
By avoiding these mistakes, you can ensure that your gutter repair is successful and long-lasting.
Conclusion
Fixing leaking gutters doesn’t have to be a daunting task. By following these steps and using the right tools, you can repair most leaks and prevent further damage to your home. Regular maintenance is key to keeping your gutters in top condition, ensuring proper water flow and protecting your home from water damage.
If you’re ever unsure about the extent of the damage or the complexity of the repair, don’t hesitate to call in a professional. Remember, timely gutter repairs will save you from costly repairs in the future.
FAQs
How can I tell if my gutters are leaking?
Look for water stains on the exterior walls, overflowing gutters, and water pooling around the foundation. These are all signs that your gutters may be leaking.
What is the best sealant for gutter repairs?
Silicone-based or polyurethane sealants are great options for gutter repairs, as they are durable, flexible, and weather-resistant.
How often should I clean my gutters to prevent leaks?
It’s recommended to clean your gutters at least twice a year—once in the spring and once in the fall. Regular cleaning prevents clogs and ensures proper water flow.
Can I fix leaking gutters myself?
Yes, most minor gutter leaks can be fixed with basic tools and materials. However, for extensive damage, it’s best to call a professional.
Why do my gutters leak after heavy rain?
Heavy rain can cause overflowing if the gutters are clogged or if they aren’t properly sloped. Make sure your gutters are clean and that water flows correctly toward the downspout.
Should I repair or replace leaking gutters?
If the gutters have small leaks or minor damage, repairs are often sufficient. However, if the gutters are rusted, cracked, or sagging in multiple places, replacement might be necessary.