Proper roof ventilation is essential for maintaining a healthy and efficient home. At Haileys Pro Services, we’ve seen firsthand how a well-executed vent roof installation can significantly impact energy costs and structural integrity.
This guide will walk you through the key steps and considerations for installing roof vents, ensuring your attic stays cool in summer and dry in winter. Whether you’re a DIY enthusiast or considering professional help, understanding the process is crucial for making informed decisions about your home’s ventilation needs.
Which Roof Vent Is Right for Your Home?
Choosing the right roof vent is important for maintaining a healthy and efficient home. Different types of roof vents offer unique benefits. Let’s explore the most common types to help you make an informed decision.
Ridge Vents: The Silent Performers
Ridge vents run along the peak of your roof, providing continuous ventilation. They’re nearly invisible from the ground, preserving your home’s aesthetic appeal. Ridge vents work best when paired with soffit vents, creating a natural airflow that efficiently removes hot air and moisture from your attic. They help improve attic ventilation, reduce energy costs, and extend your roof’s lifespan.
Box Vents: Simple and Effective
Box vents (also known as static vents) are square or rectangular units installed directly on your roof. They’re a good option for homes where ridge vents aren’t feasible. Multiple box vents are typically installed across the roof to ensure adequate ventilation. While not as efficient as ridge vents, they’re more affordable and easier to install.
Soffit Vents: The Intake Champions
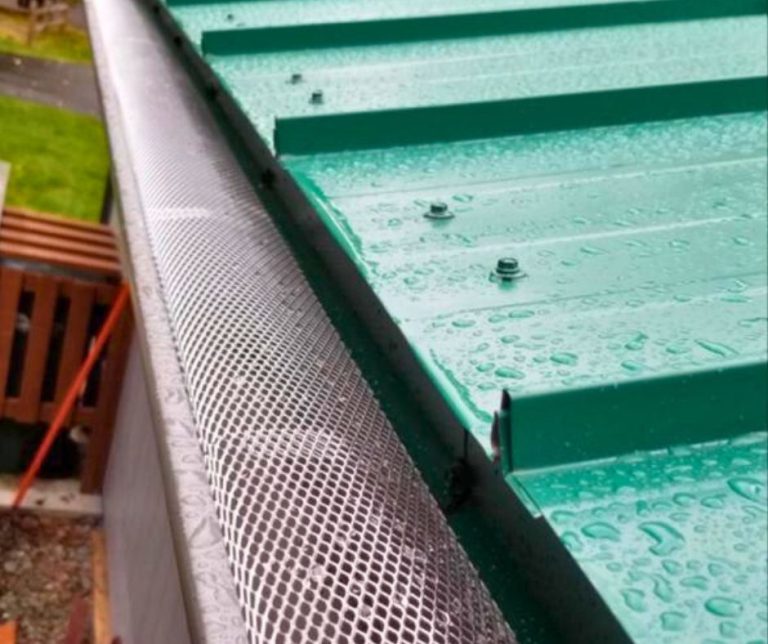
Soffit vents are installed under the eaves of your roof, allowing cool air to enter your attic. They’re essential for creating proper airflow when paired with exhaust vents like ridge or box vents. It’s important to keep soffit vents clear of insulation, as blockages can severely impact their effectiveness.
Turbine Vents: Wind-Powered Ventilation
Turbine vents (often called whirlybirds) use wind power to draw hot air and moisture out of your attic. They’re particularly effective in areas with consistent wind. However, in calm conditions, their effectiveness decreases. Turbine vents often serve as a supplementary option rather than the primary ventilation method.
Power Vents: High-Tech Solution
Power vents use electricity to forcefully expel hot air from your attic. They can be thermostat-controlled, activating only when needed. While effective, they come with higher upfront costs and ongoing energy consumption. Power vents are typically suggested for homes with unique ventilation challenges or in extremely hot climates.

When selecting a roof vent, consider your home’s architecture, local climate, and budget. The right ventilation solution depends on your specific needs and home characteristics.
Now that we’ve covered the types of roof vents, let’s move on to the key steps involved in their installation.
How to Install Roof Vents: A Step-by-Step Guide
Assess Your Ventilation Requirements
The first step in roof vent installation is to determine your home’s ventilation needs. Calculate the square footage of your attic floor and consider your local climate. The recommended ventilation ratio for vented attic assemblies when an air barrier is present is 1:300. In more humid climates, you might need additional ventilation to prevent moisture buildup.
Select and Position Your Vents
After you determine your ventilation needs, choose the right type of vent and decide on its placement. For most homes, a combination of soffit vents (for intake) and ridge vents (for exhaust) works best. If ridge vents aren’t suitable, consider gable vents, which are mostly used with a gable style roof and can be placed on each side of the home.

To mark the installation area, use chalk lines for straight cuts. For ridge vents, mark along the entire length of the roof peak, leaving about 6 inches from each end. For box vents, center the vent between rafters and mark the outline, adding an extra inch all around for the flashing.
Cut and Prepare the Roof Opening
Cutting the roof opening requires precision. Use a circular saw set to the depth of your shingles and decking. Always wear protective gear and work on a dry, clear day (safety first!). After cutting, remove any nails in the surrounding shingles to allow for proper flashing installation.
Install Flashing and Secure the Vent
Proper flashing installation prevents leaks. Slide the flashing under the shingles above the vent opening and over the shingles below. Apply roofing cement generously around the edges of the flashing for a watertight seal.
To secure the vent, use roofing nails long enough to penetrate the decking. Space the nails evenly around the vent’s flange, typically every 4 to 6 inches. Don’t overdrive the nails, as this can cause the flange to crack or warp.
Seal and Inspect Your Work
Apply a bead of roofing sealant around all edges of the vent and over the nail heads. This extra step provides additional protection against water infiltration. Inspect your work from both the roof and the attic to ensure everything is properly sealed and there are no gaps or misalignments.
While DIY installation is possible, roof work can be dangerous and complex. If you’re unsure about any step of the process, it’s best to consult with professionals. They have the expertise to ensure your roof vents are installed correctly, maximizing your home’s ventilation efficiency and protecting your investment.
Now that we’ve covered the installation process, let’s explore some important considerations for proper roof ventilation in the next section.
How to Optimize Your Roof Ventilation System
Calculating Your Ventilation Needs
The first step in optimizing your roof ventilation is to determine the right amount of ventilation for your attic space. The U.S. Federal Housing authority recommends a minimum of 1 square foot of attic ventilation (evenly split between intake and exhaust) for every 300 square feet of attic floor space. This ratio can vary depending on your roof’s pitch and local climate conditions.

To calculate your ventilation needs, measure your attic floor area and divide it by 300. This gives you the total square footage of ventilation required. For example, a 1,800 square foot attic would need 6 square feet of ventilation. Split this evenly between intake and exhaust vents for balanced airflow.
Balancing Intake and Exhaust
A common mistake in roof ventilation is to focus solely on exhaust vents while neglecting intake. For optimal performance, your ventilation system should have a 50/50 split between intake and exhaust. This balance creates a continuous airflow that efficiently removes hot air and moisture from your attic.
Soffit vents excel for intake, while ridge vents or box vents work well for exhaust. If your home lacks sufficient soffit space, consider installing drip edge vents or gable vents to supplement intake airflow.
Climate Considerations
Your local climate plays a significant role in determining the best ventilation strategy for your home. In hot, humid climates, you might need more ventilation to combat moisture buildup and heat accumulation.
In colder climates, excessive ventilation can lead to heat loss. It’s important to ensure your attic floor is well-insulated and air-sealed to prevent warm air from escaping into the attic space. This approach maintains the ventilation’s effectiveness while minimizing heat loss.
Energy Efficiency Impact
Proper roof ventilation can significantly impact your home’s energy efficiency. In summer, effective ventilation reduces the workload on your air conditioning system by expelling hot air from the attic. This can lead to lower energy bills and increased comfort throughout your home.
During winter, good ventilation prevents ice dams (a common problem in colder regions) by maintaining a consistent roof temperature. This not only protects your roof from damage but also reduces heating costs by preventing warm air from escaping through the attic.
Material Compatibility
When installing or upgrading your roof ventilation system, consider the compatibility with your existing roofing materials. Some vent types work better with certain roofing materials than others. For example, ridge vents often integrate seamlessly with asphalt shingles, while tile roofs might require specialized vents.
Try to choose vents that complement your roof’s aesthetics and functionality. Consult with a roofing professional (like those at Haileys Pro Services) to ensure your chosen ventilation solution aligns with your roof’s design and materials.
Final Thoughts
Proper roof ventilation plays a vital role in home maintenance, often overlooked by homeowners. A well-executed vent roof installation impacts energy efficiency, structural integrity, and overall comfort. Homeowners can make informed decisions about their ventilation needs by understanding various vent types and following key installation steps.

The installation process requires careful planning, precise measurements, and secure placement for optimal performance. Climate considerations, energy efficiency, and compatibility with existing roofing materials are equally important factors to consider. Professional assistance can be invaluable due to the complexity of roof work and potential risks involved.
At Haileys Pro Services, we specialize in roof installation and maintenance (including vent roof installation). Our expert technicians can help you navigate the intricacies of selecting the right vents and ensuring proper balance between intake and exhaust. Quality roof ventilation extends the life of your roofing materials and contributes to a healthier, more comfortable living environment.